Forgive my long delay in posting recipes – my total focus is on www.ExceptionalWomenAwardees.com – raising money to support the mentoring of mid career, high potential women – enabling them to rise in leadership.
When women improve their career status and earning potential, the whole family and the community benefits. Do visit and donate to:
http://www.ExceptionalWomenAwardees.com
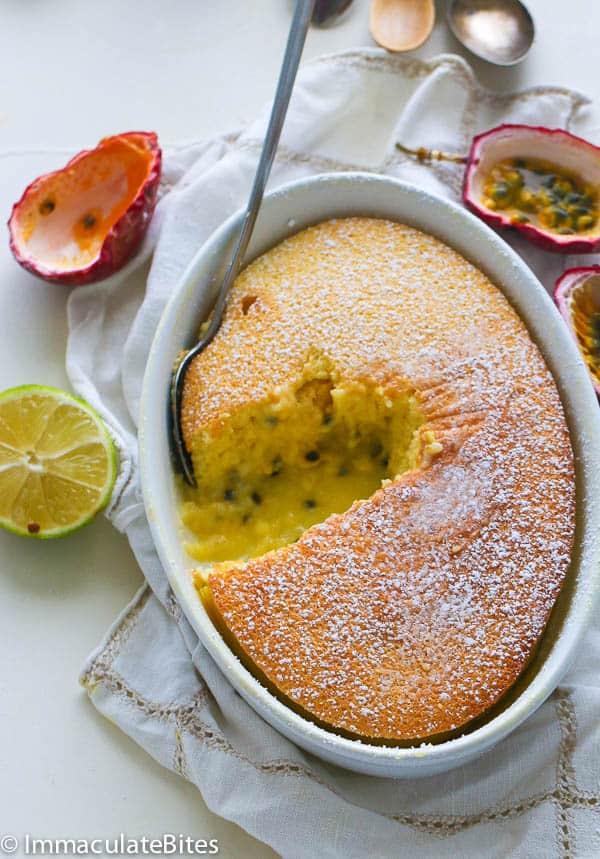
Here is a wonderful recipe that we make in summer at The Little Farm – and because we freeze our passion fruit pulp – we make it also in winter! You can buy Passion fruit pulp on line too if you are not fortunate enough to have the creepers!
Passion Fruit Pudding Cake
Ingredients
- 2 fresh passion fruit sub ¼ cup passion fruit
- ¼ cup passion fruit puree
- 1 cup granulated sugar
- 1/3 cup all-purpose flour
- 3 large eggs separated
- 1/3 cup melted butter
- ¾ cup whole milk
- ¼ teaspoon salt
- 1 Tablespoon Lemon/Lime Juice
- 1 Tablespoon lime Zest
- 1 Tablespoon rum optional
Instructions
-
Pre-heat the oven to 180°C/350°F. Grease a 2 quart oven safe dish (ceramic, glass,Pyrex custard cups) or 8 “4 “ounce ramekins generously with cooking spray and set aside.
-
In a medium bowl, whisk together 2/3 granulated sugar, salt and flour. Set aside.
-
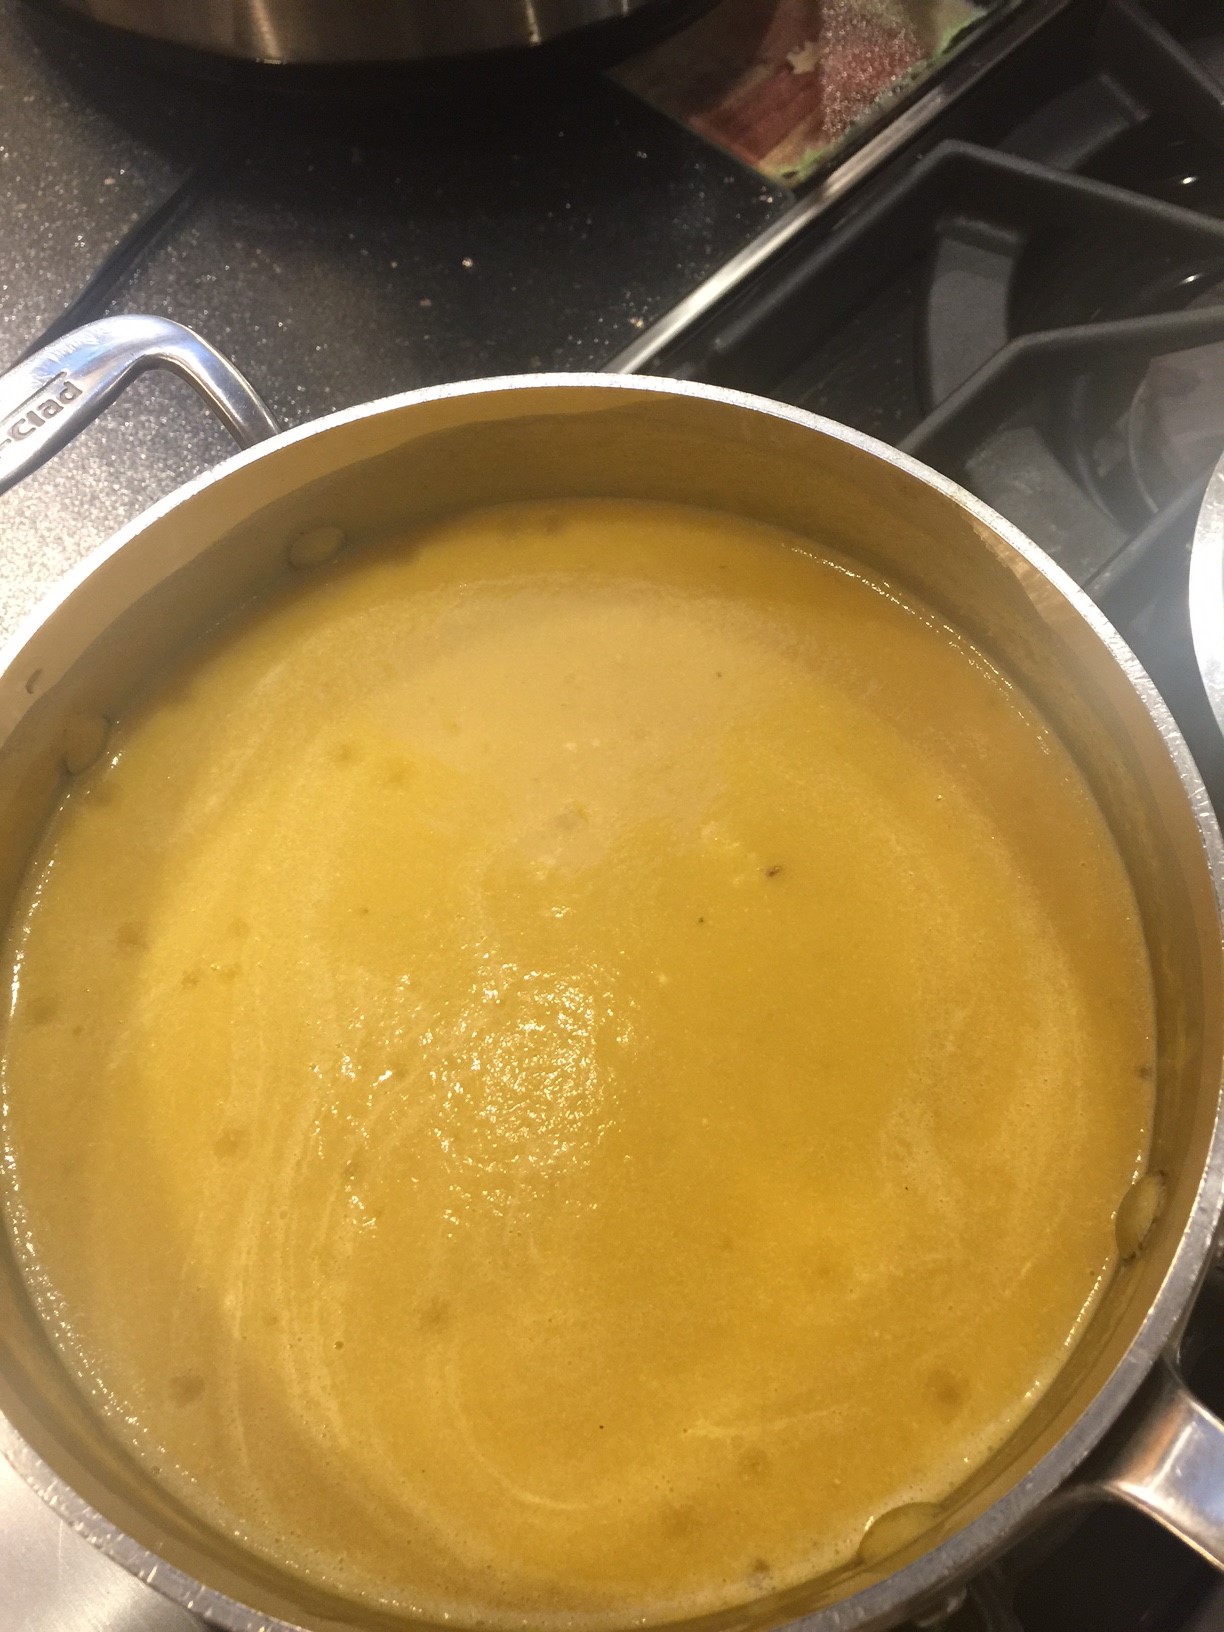
In a Large bowl, whisk together the egg yolks, butter, milk, rum, lime zest, lime juice and passion fruit puree, and pulp until fully combined.
-
Add the wet mixture to the flour mixture and whisk to just combine.
-
Using an electric mixer, beat the egg whites for about a minute then add sugar and continue mixing on medium-high until stiff peaks form, this may take about 2-3 more minutes.
-
Using a spatula carefully fold in ¼ of the egg whites mixture, and then fold in the remaining until well incorporated.
-
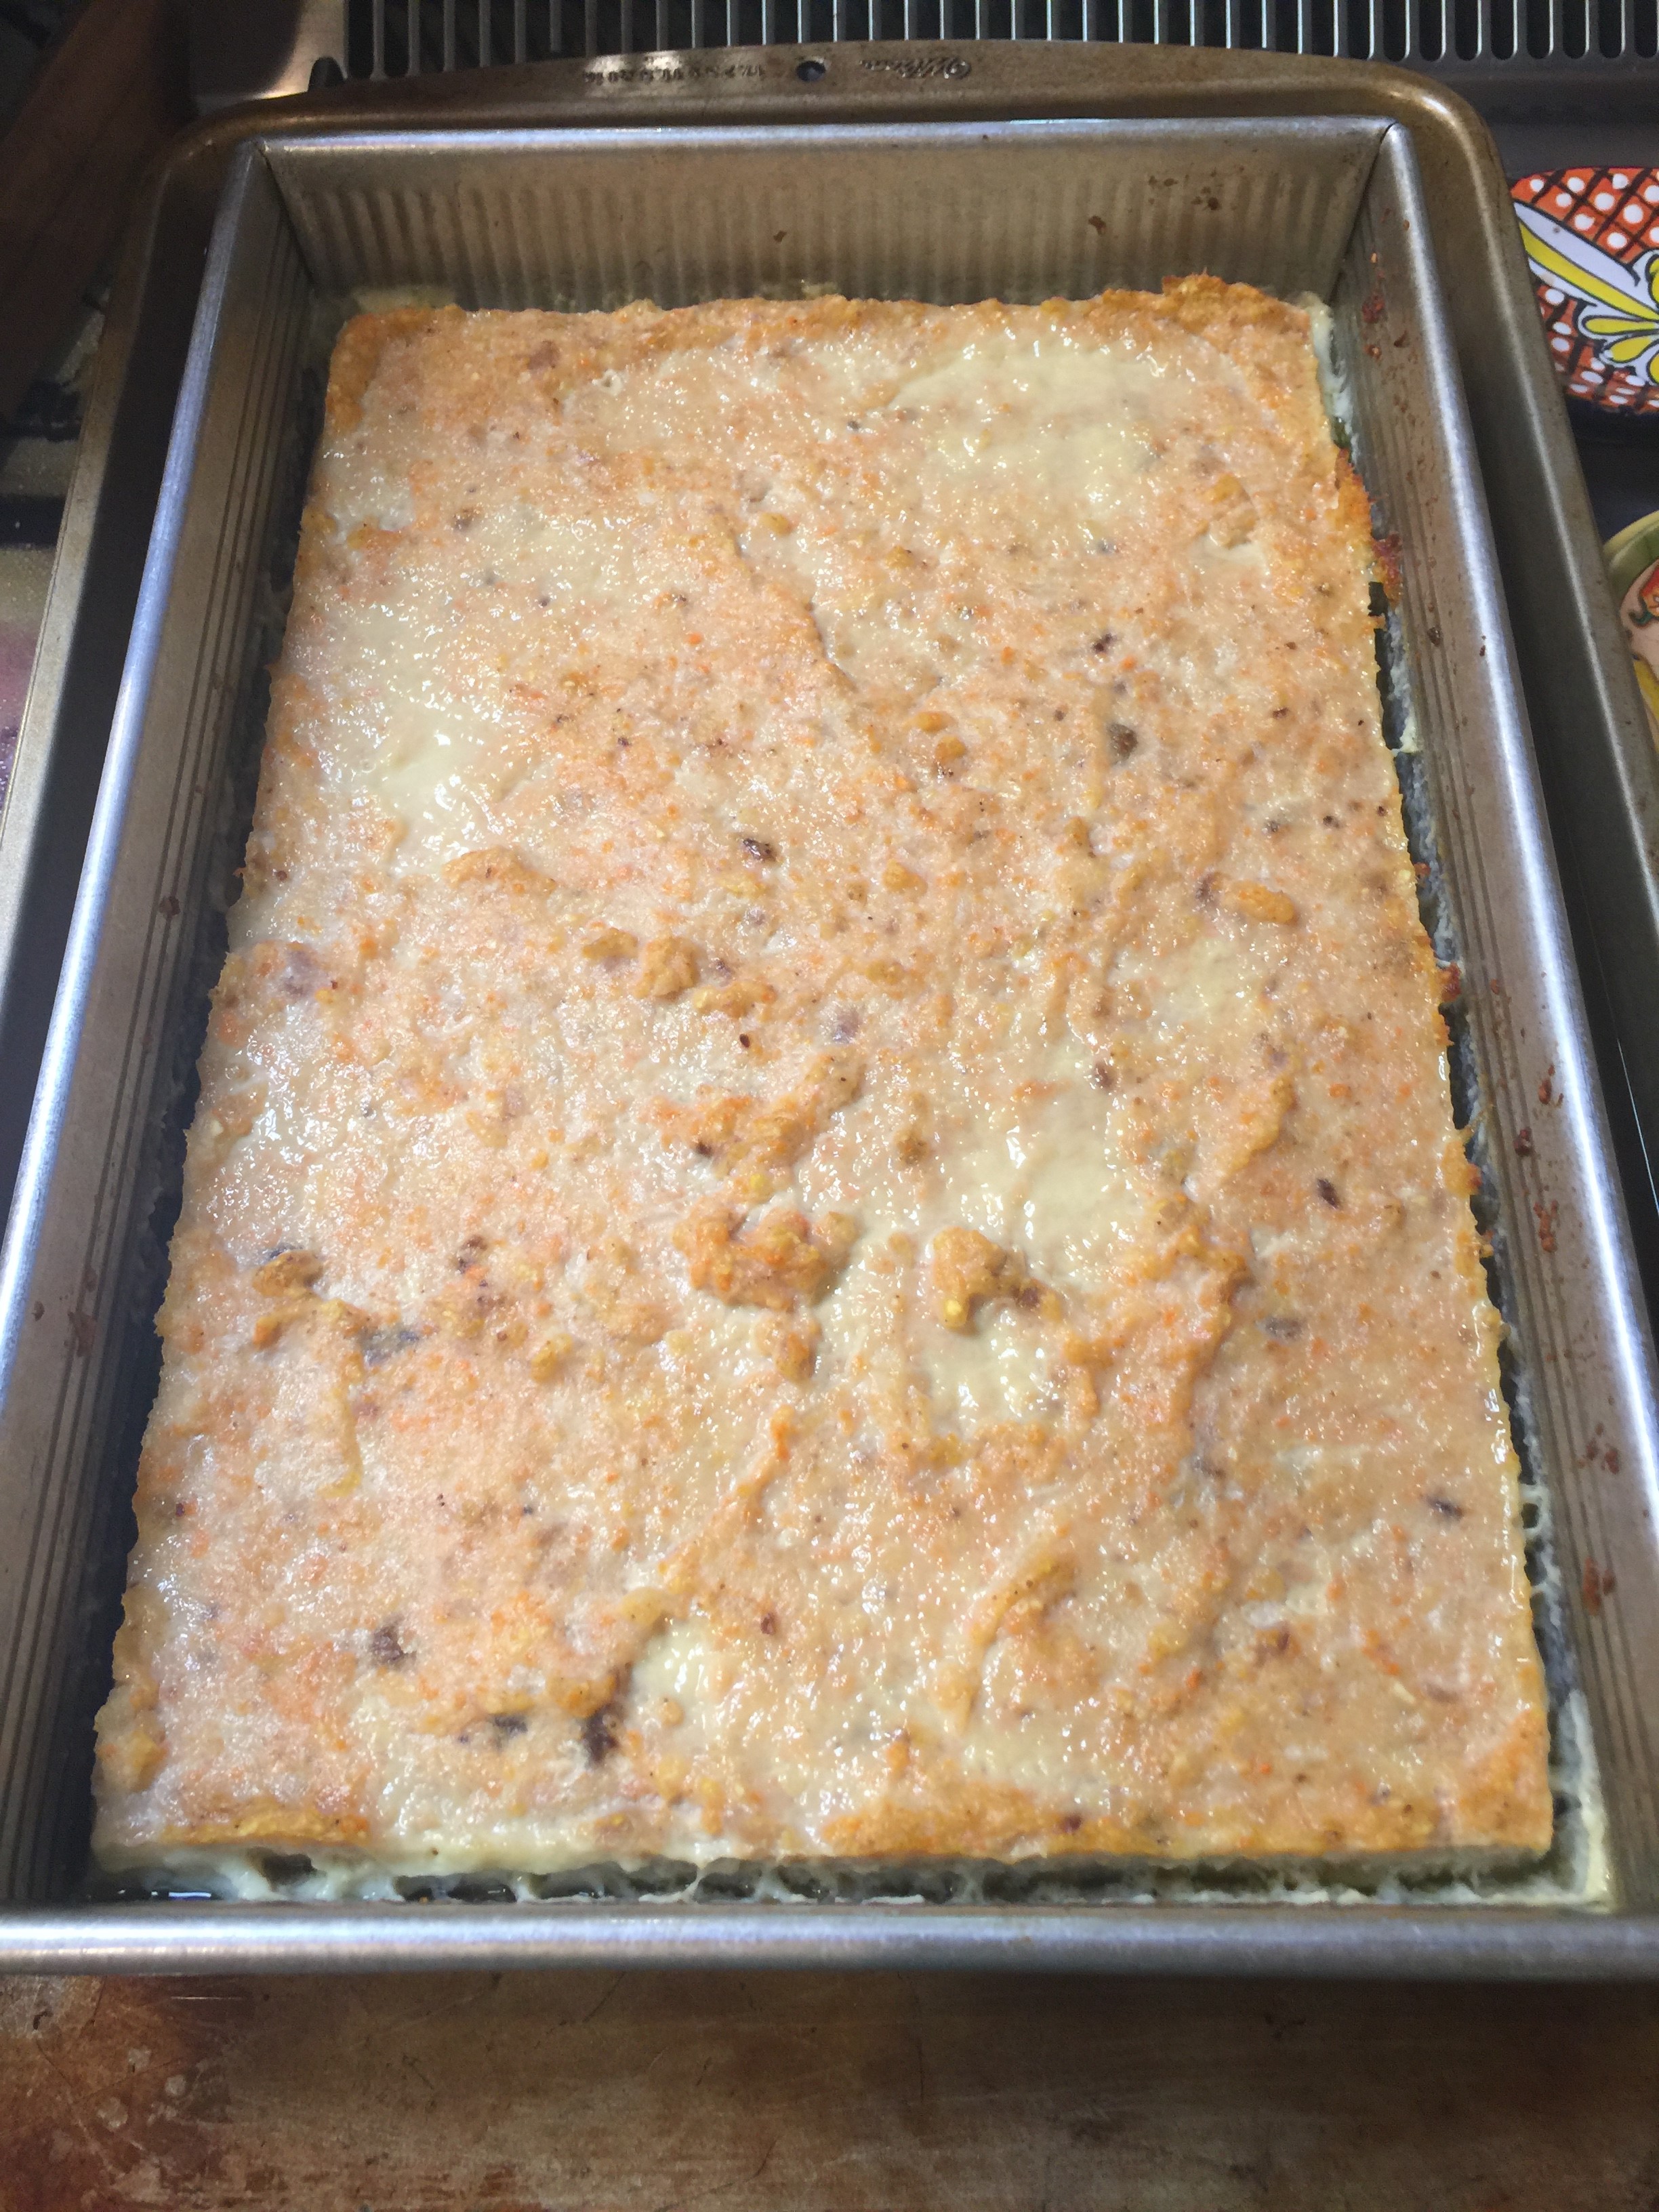
Pour the batter into a buttered baking dish, place in the large baking or roasting pan, then carefully pour hot water into the baking pan to come half-way up the sides of ramekins, or casserole dish. Bake until the top of the cake or cakes turn light golden and puff slightly (do a test with your finger a finger, they should feel spongy and spring back a bit but hold a shallow indentation, 25 to 30 minutes.
-
Let the cake cool to room temperature . Refrigerate for about 2 or more hours before serving or up to 24 hours.
Recipe and Photo from Immaculate Bites
Recipe Notes
- If you want some sauce at the bottom of the cake you have got to use a water bath. The water bath should be a baking / roasting pan that is larger than whatever you are baking the cake in(ramekins, casseroles or baking dish)
- The water level usually determines the creamy layer at the bottom of the dish- middle of the casserole is a good place start.
- Be sure that the water you pour into the outer pan is hot, and, to be on the safe side, put the pan inside the oven before you pour the hot water into it.
- This cake can be made ahead of time, up to 4 hours refrigerate and then baked when ready.
- Sub passion fruit puree with mango puree, pineapple or just use lemon juice.